To make a food look delicious like it looks on photos and videos you watch on TV or on the Web, you must use maximum effort and master a lot of techniques. By simply holding the camera and waiting to see a great result, you’ll be very disappointed, as food video art productions require preparation. Let’s start with the fundamentals of food photography.
- FOCUS. Focus your camera on the needed elements of the food. Consider the depth of field if you use macro lens. When moving closer to the object, it’s more difficult to focus on background and foreground. An F/28 aperture or lower will allow you to take advantage of such shots with the help of blur.
- LIGHT. You won’t be able to make a single successful shot without proper lightning, especially if you’re going to succeed in marketing with video or photo footage. The light should come from behind the subject of your shot to make the unique shades. Raise your light through the food you are going to photograph. Soft light adds shadows to the picture.
It’s a mistake to direct the light at the food. You should either diffuse it (by pointing to the other side and making bounce of the ceiling, some sheer object, etc.) or not use at all. Instead, one can get benefits of outside food shooting. To get soft shadows make photos and videos in the morning, or evening. By shooting inside, it is recommended that food be put near a window.
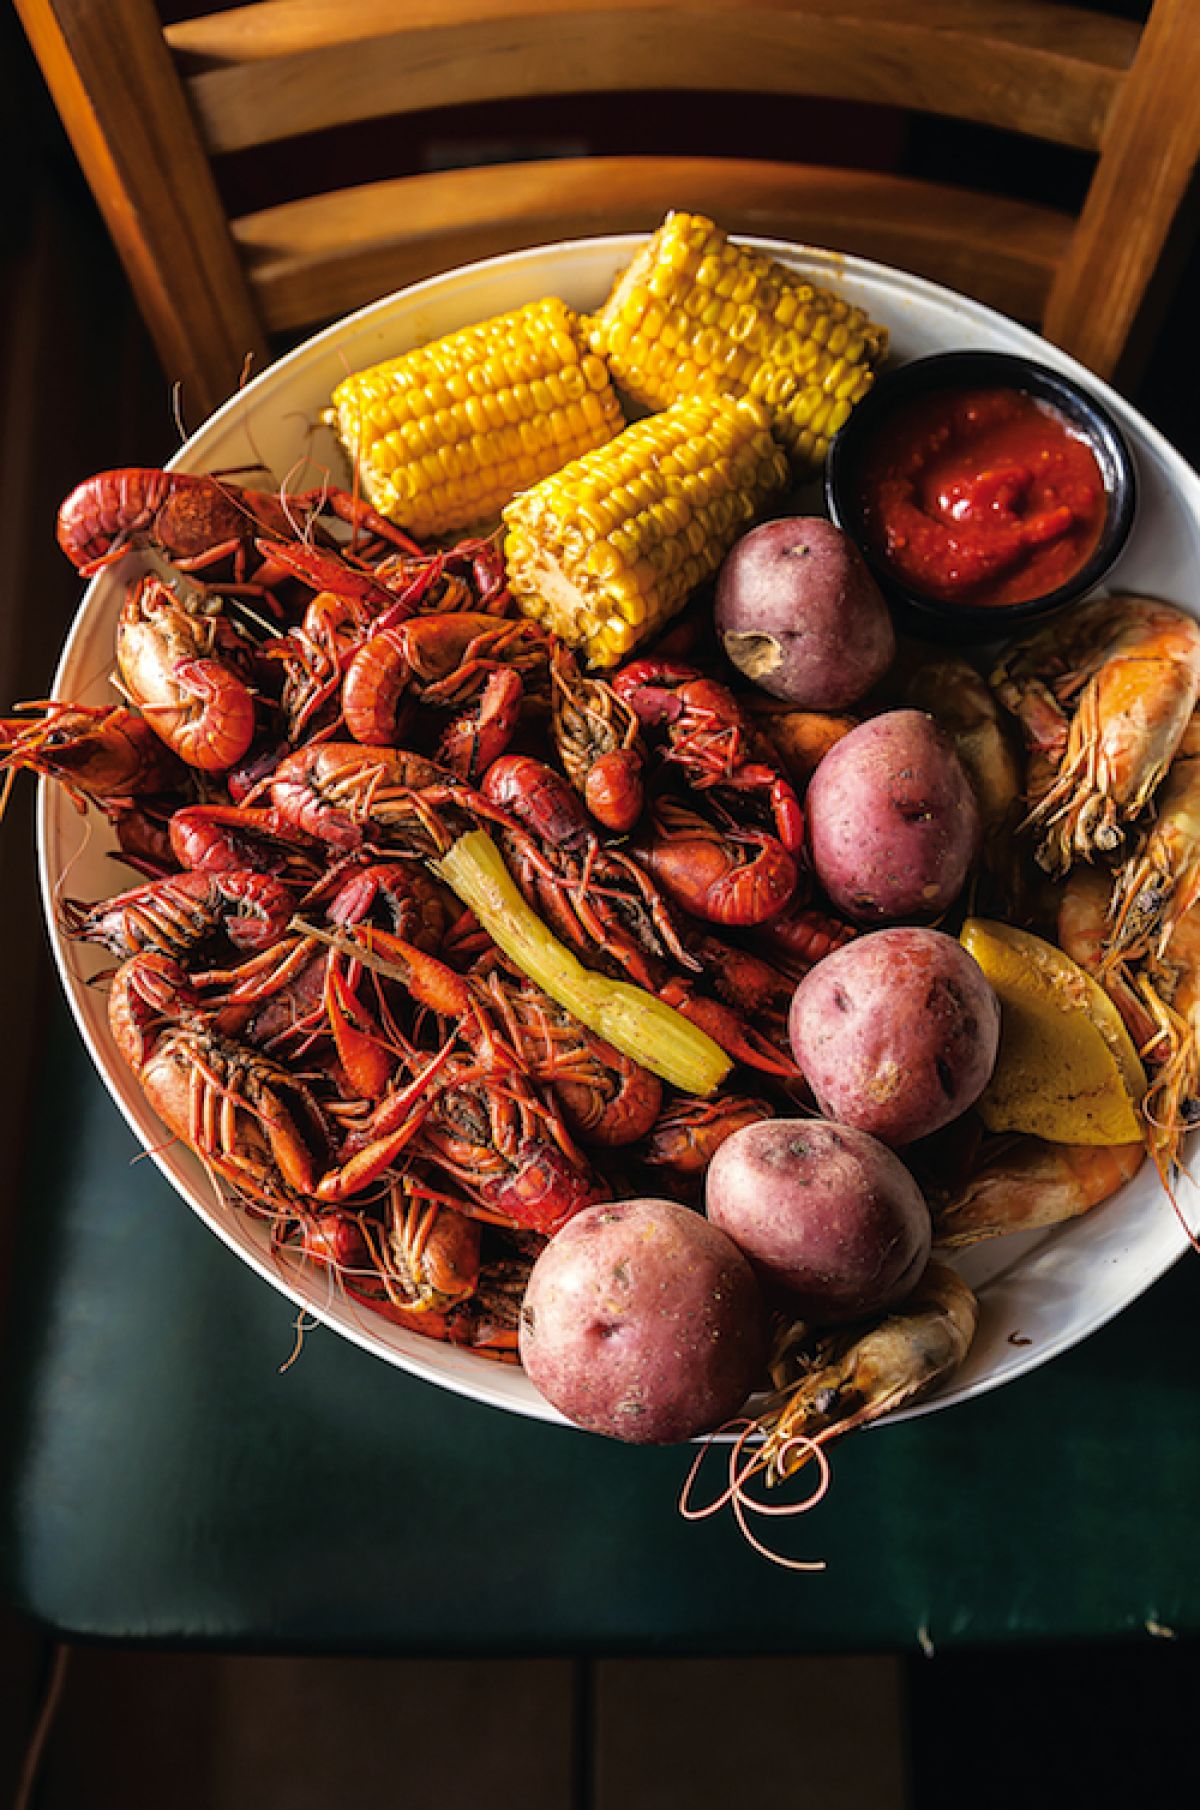
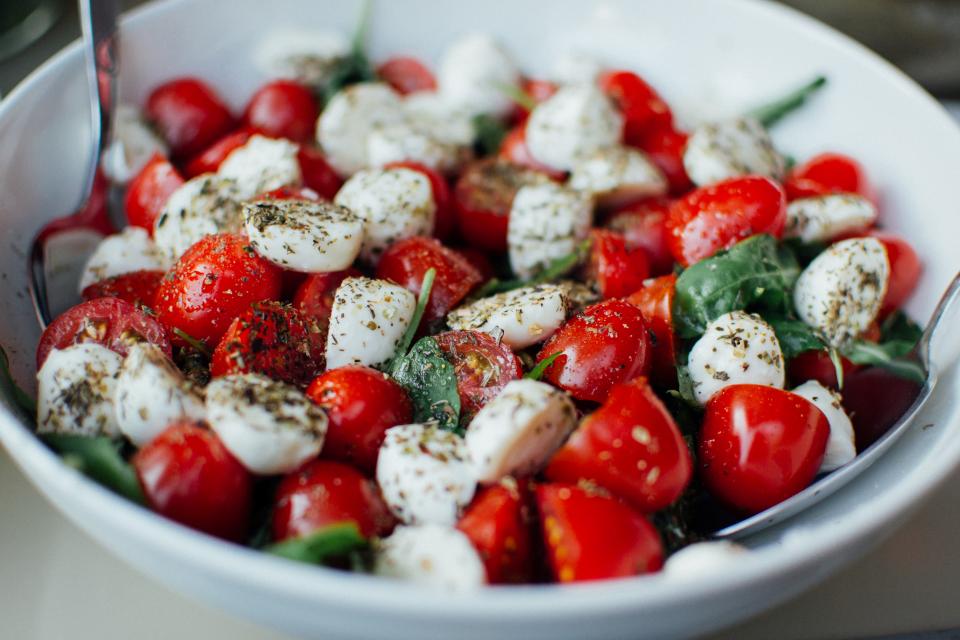
- COLORS. A lot of color is not a sign of a bad taste in marketing food photography. A person starts eating with her/his eyes.
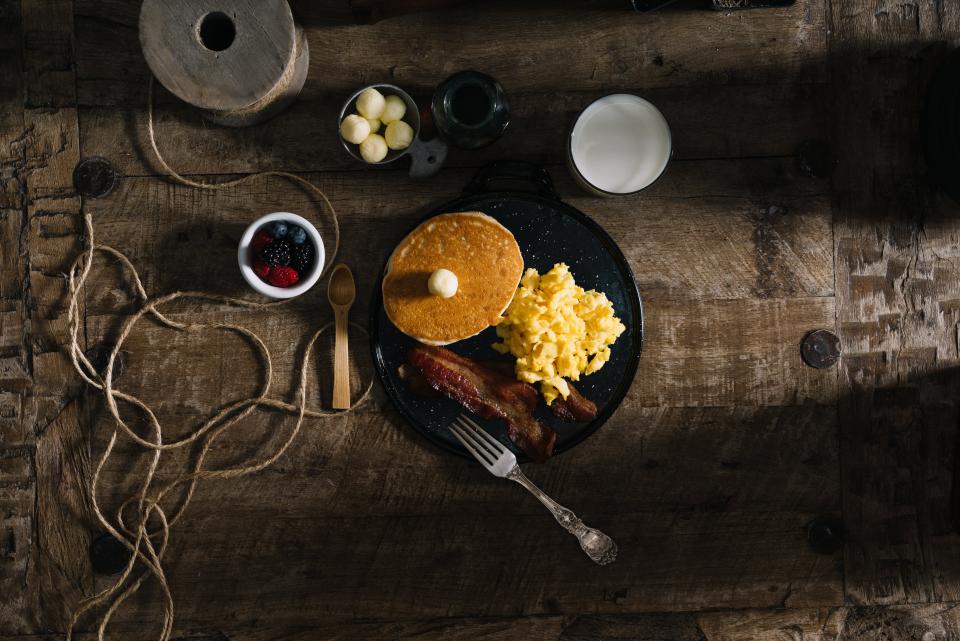
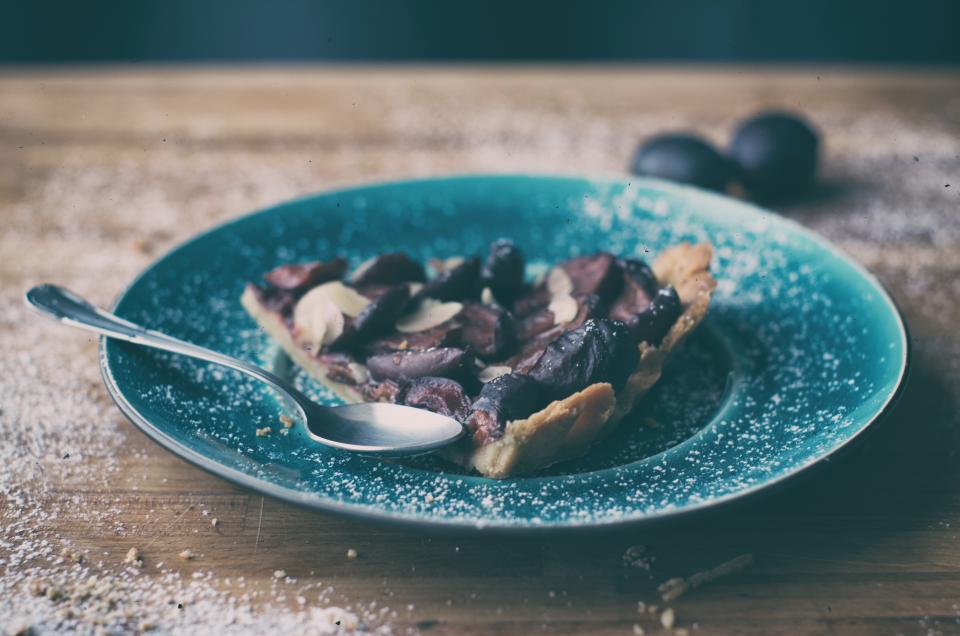
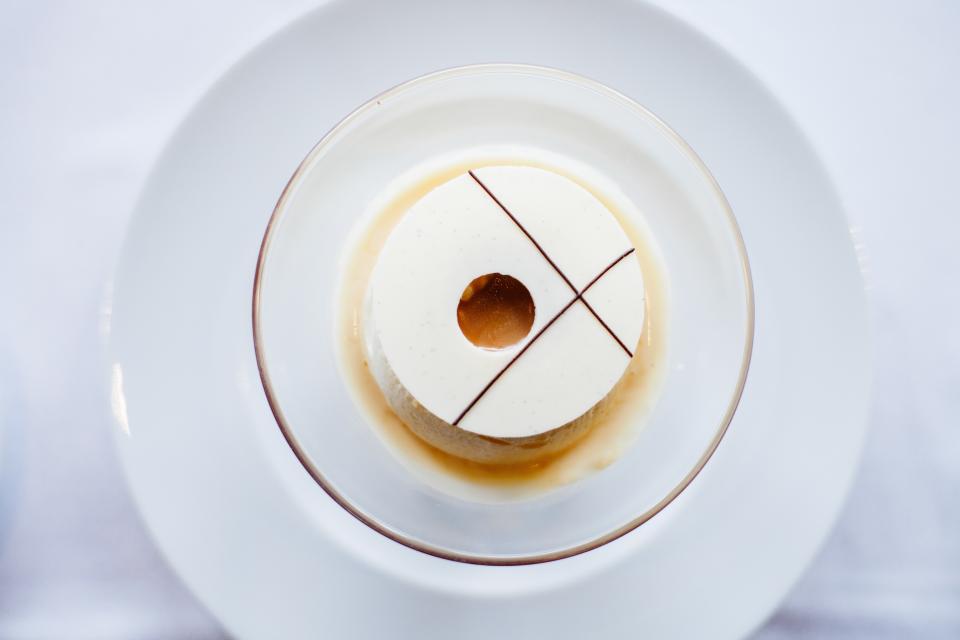
- COMPOSITION. Placing the food in the center of your photo is not a good idea, unless you use a similar idea from the picture below. As well as in video production, the rule of thirds will come in handy in photography too.
- BACKGROUND. Using a cutting board or a table where you cook your food is not a good idea. The surface should be clean and nothing should distract attention from the plate, or glass. Make sure the background colors complement the composition and make your food look more delicious.
- UTENSILS. Your plates, glasses and other utensils should be perfectly clean. Make sure there are no tiny parts of food or drops of sauce on the sides of the plates.
A great piece of advice from professional photographers: consider your knives, spoons and other tableware to be your models. Make sure they look spotless and are placed perfectly.
Small Life Hacks of Impressive Food Photography
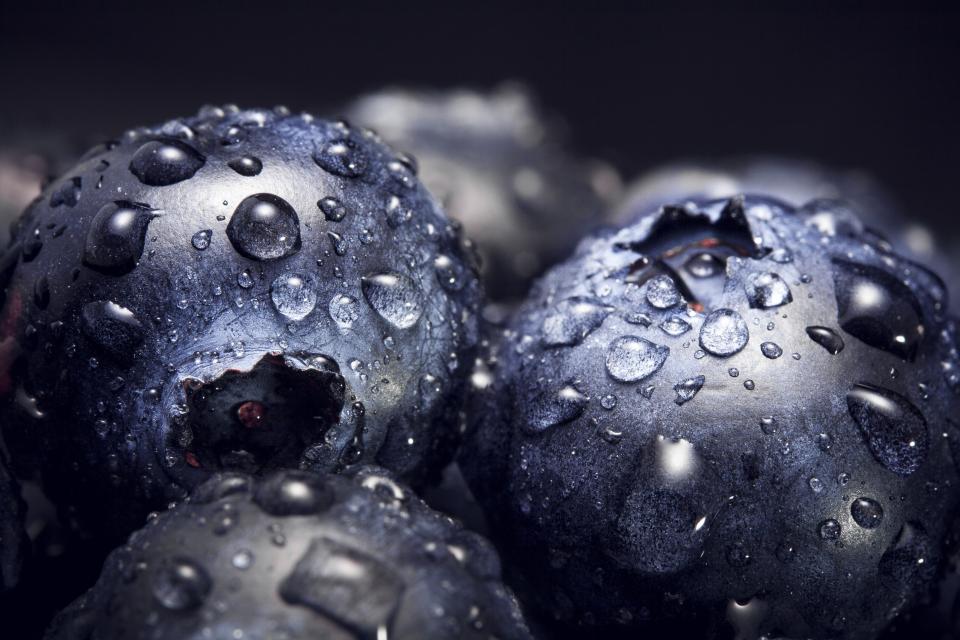
- Dried food won’t look tasty and delicious. Spray it with water or olive oil to add more life and color.
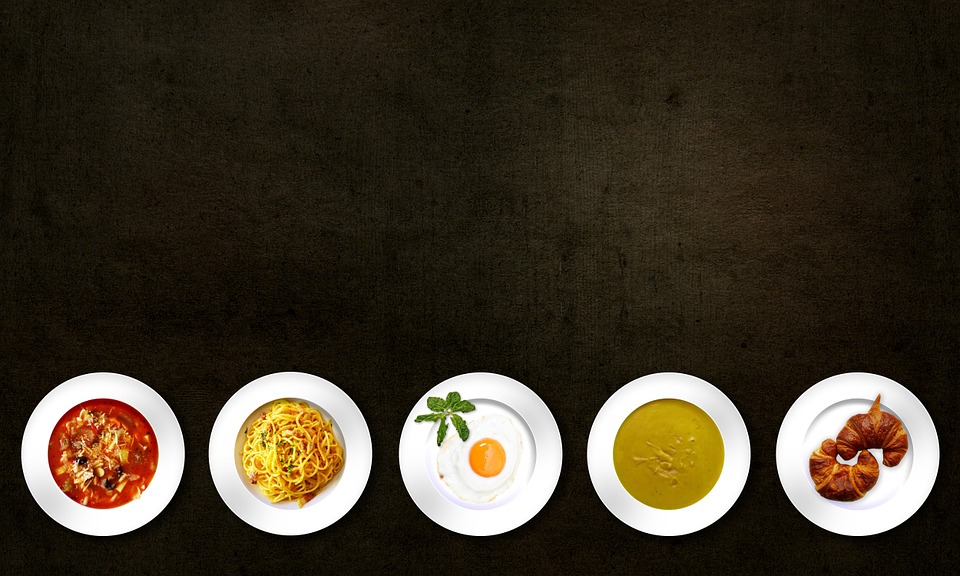
- When taking photos of stewed dishes and soups, take the shot right after adding all the ingredients (while colors are still bright).
- Use warm light (especially if you work with white background) to make your photos more appealing.
- Don’t wait until the food is completely prepared. Take photos of the process while it is juicy.
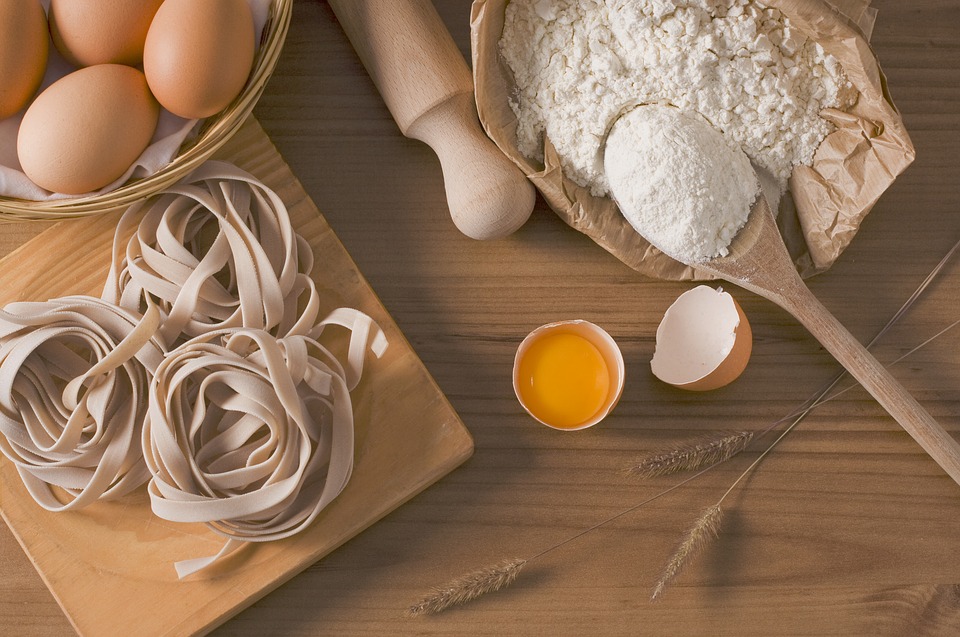
- Using uncooked ingredients near the plate is a good idea for demonstrating the whole story and for making the food look fresh.
- Practice as often as you can. Take photos of all dishes you prepare at home, even if you’ve just done a morning coffee. Find examples of food photography you like and try do something similar.
- Use color plates, mix real ingredients with fake ones, and so on.
Now you may wonder how all these photo tips can come in handy in your video art productions and marketing. By knowing the main principles of photo shooting you will be able to create culinary videos and get additional income from them.
Marketing with Video of Culinary Processes
Not only Jamie Oliver can make money while cooking. If you’re looking for additional income or a regular job of some kind, consider making culinary videos and sharing your recipes with others. It’s okay if your kitchen doesn’t look exquisite or professional; there are still opportunities to find good places with the needed background and lightning.
You may choose any format for shooting food preparation for your following marketing with video. The example presented below, step-by-step instructions, live process or offscreen voice, interview or any other format. The preparation process can be the following.
- Choose a recipe you want to share and a perfect indoor or outdoor location (not necessarily a kitchen).
- Make sure you’ve prepared all the ingredients. Think over how to place them and what kitchenware to use for this aim.
- Gather all the needed equipment.
- Shoot all your steps in cooking process. It’s better to cut them later than suddenly have to reshoot them. Film all the slicing, boiling, mixing and so on. Leave the static part of the process to the photographers.
- Use different shots in your culinary video production. Zoom closer and farther, change the location and angle, etc. Make sure you dedicate at least 10 seconds to each ingredient and action.
Once your culinary video footage is ready, it’s time to edit it. And here MyMovieLab team comes to help you. If the whole process is aimed on marketing with video, you better ask seasoned professionals to help you. The process usually includes three main steps.
- Laying out parts of the video in the sequence to demonstrate the whole process.
- Adding the text to your video footage. It can explain your actions, show needed measurements, give additional information, and so on.
- Adding music. Sound can go along with your explanations to add some mood and keep your viewers engaged.
The last part is the most pleasant in food photo and video shooting. No, we are not talking about editing! Bon appetit!
P.S. You can’t even imagine how difficult it was to prepare this material for you. We’ve ordered pizza several times not to faint from hunger. Enjoy your art video productions!